From Zero to a Merged PR
In this tutorial you install Shep, pick your agent and model, ask for a small change, and follow it until Shep merges the pull request. You stay on main the whole time; the agent works in its own git worktree.
Time: about 15 minutes of your own steps. You need: the prerequisites and a GitHub repository where a draft PR is harmless.
Check your tools
node --version          # v22 or higher
git --version
gh auth status          # "Logged in to github.com"
claude --version        # or the CLI of your agent: codex, gemini, cursor-agent, copilot, kimi, cline
Using OpenRouter, Together AI, Ollama or an LLM proxy? Skip the last line; you’ll enter the key or URL during setup.
You should see a version for each tool and a logged-in account for gh. If gh isn’t signed in, run gh auth login now: Shep uses it to push branches and open pull requests.
Install Shep
npm install -g @shepai/cli
shep --version
You should see a version number. To try Shep without installing it, use npx @shepai/cli in place of shep in every command.
Start Shep in your repository
cd ~/projects/my-app
shep
Bare shep starts Shep in the background, prints its URL and opens it in your browser. The default is localhost:4050 ; if that port is taken, Shep picks the next free one and prints it.
Pick your agent and model
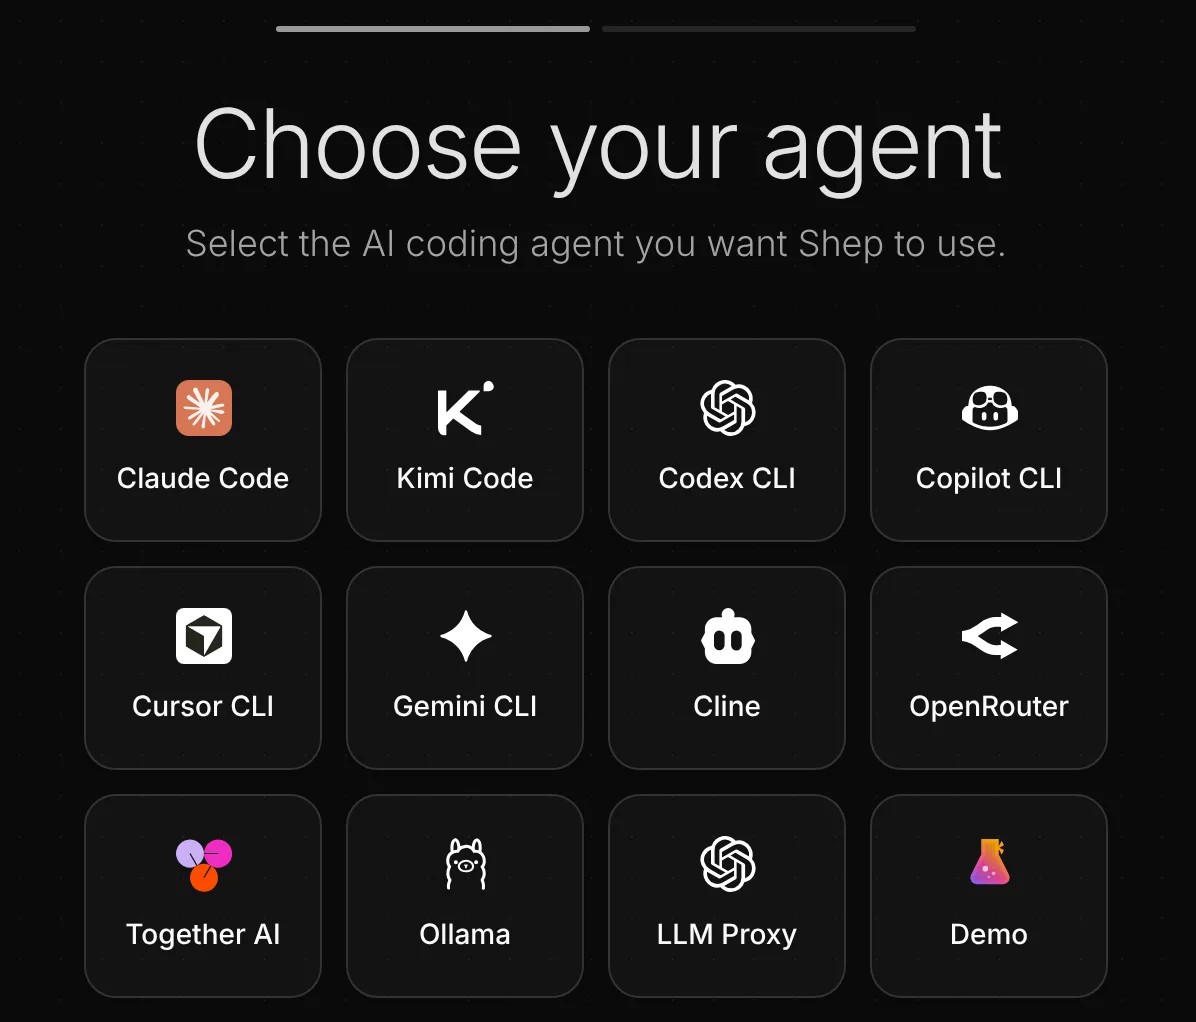
The first time, the Control Center walks you through setup. Pick the agent you use:
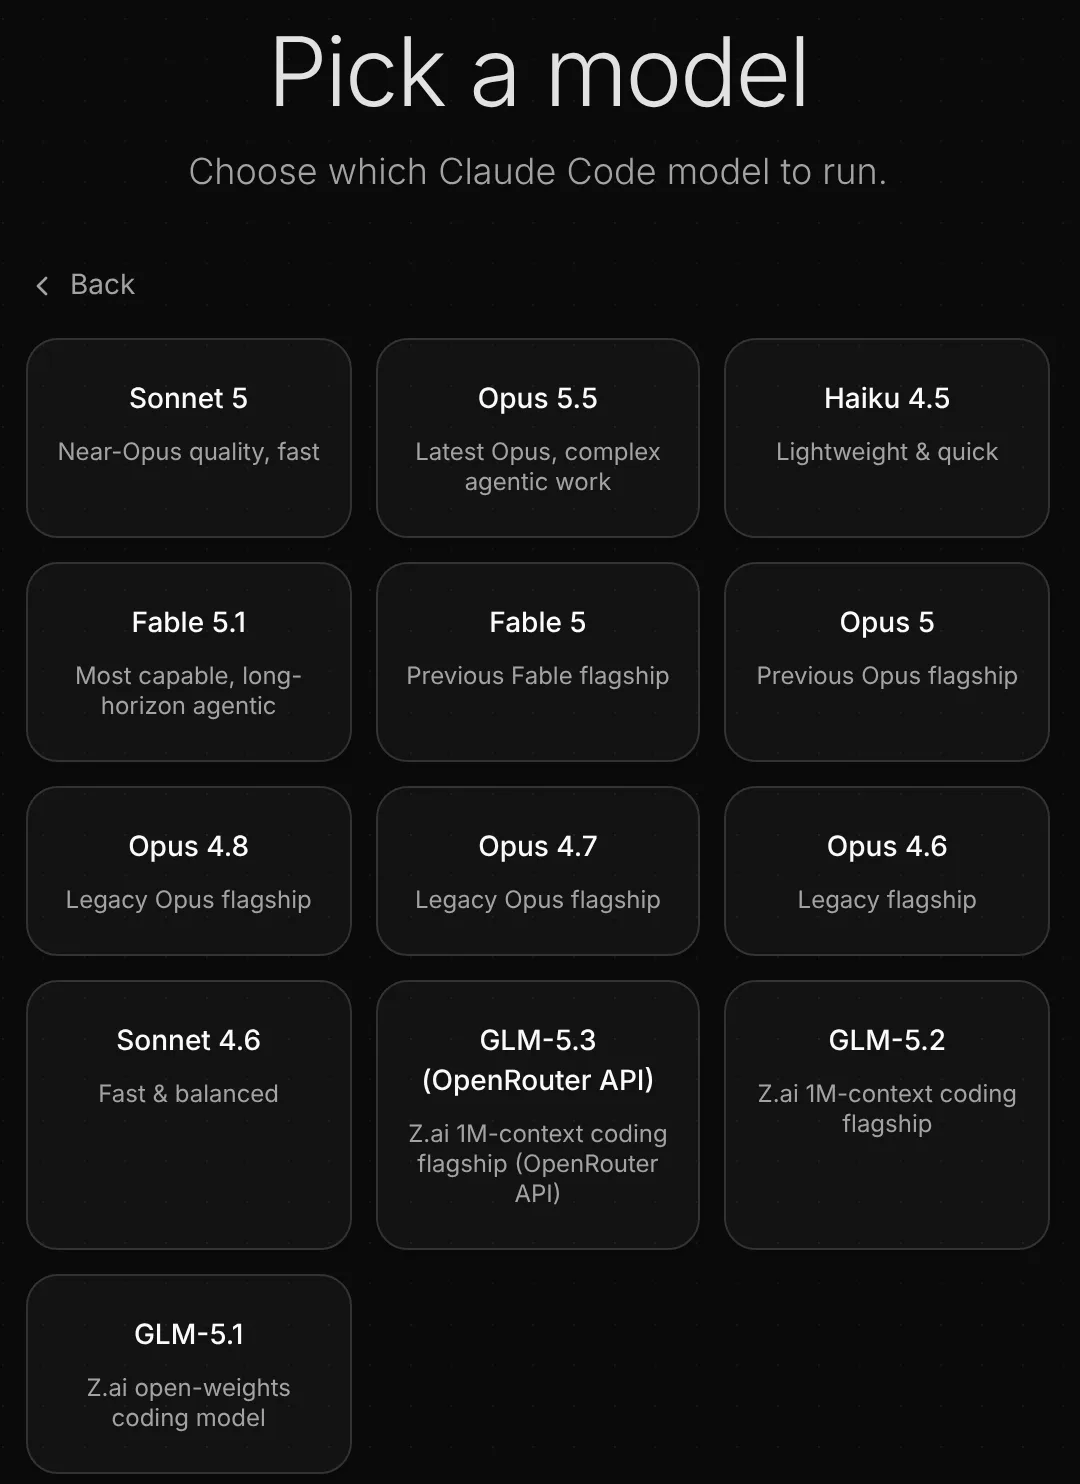
Then pick its default model. Only models that agent supports are listed:
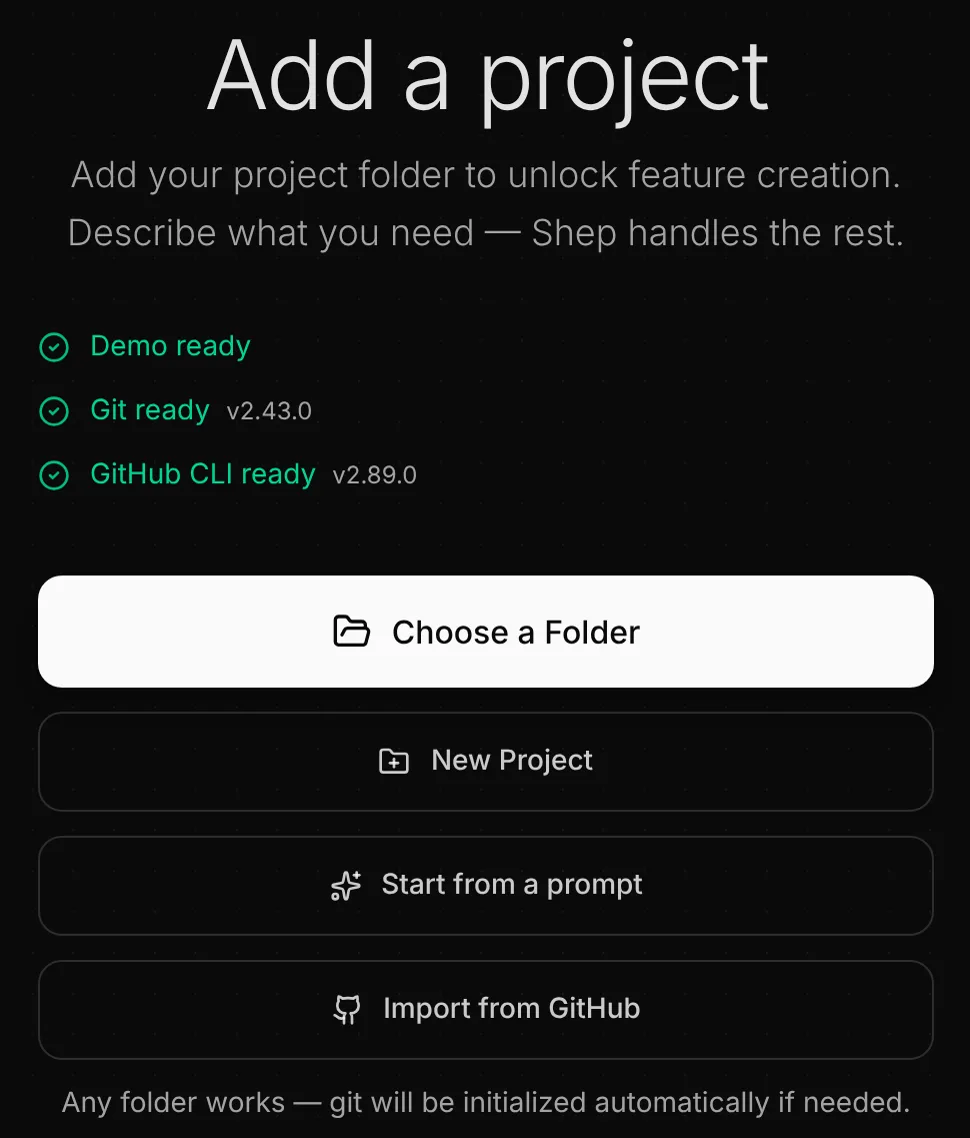
Shep then checks that the agent, Git and the GitHub CLI are ready, and offers to add a project. Click Choose a Folder and pick your repository.
The first run also shows a short notice about usage metrics, with a button to turn them off.
You should see your repository as a node on the Control Center canvas. If a readiness check is red, it shows the install or login command to run; run it and the check turns green.
Ask for a small change
Pick something small and concrete. Back in your terminal:
shep feat new "add a /health endpoint that returns uptime and version" --push --pr--push pushes the branch when the work is done and --pr opens a draft pull request. You can do the same from the browser: + New on your repository node, type the description, switch on Push and PR under Git, and click Create Feature.
You should see something like:
✓ Feature created
  ID:       1a2b3c4d-5e6f-4a7b-8c9d-0e1f2a3b4c5d
  Name:     Add Health Endpoint
  Branch:   feat/add-health-endpoint
  Status:   Implementation
  Worktree: ~/.shep/repos/<repo-hash>/wt/feat-add-health-endpoint
  Agent:    spawned (run 9f8e7d6c)
  Push:     push + PR
  Review:   pause after every phase
Copy the ID; the first eight characters are enough for every command below. The new feature also appears on the canvas, next to your repository.
Follow the agent
Ask Shep what the agent is doing and why:
shep feat status <id>Or block until the feature needs you, finishes or fails:
shep feat wait <id>shep feat wait exits with code 0 when one of those happens, so you can chain it in a script. To read the agent’s output as it works, run shep feat logs <id> -f.
In the browser, click the feature to open its drawer. The Activity tab shows each phase as it runs, with time and token use:
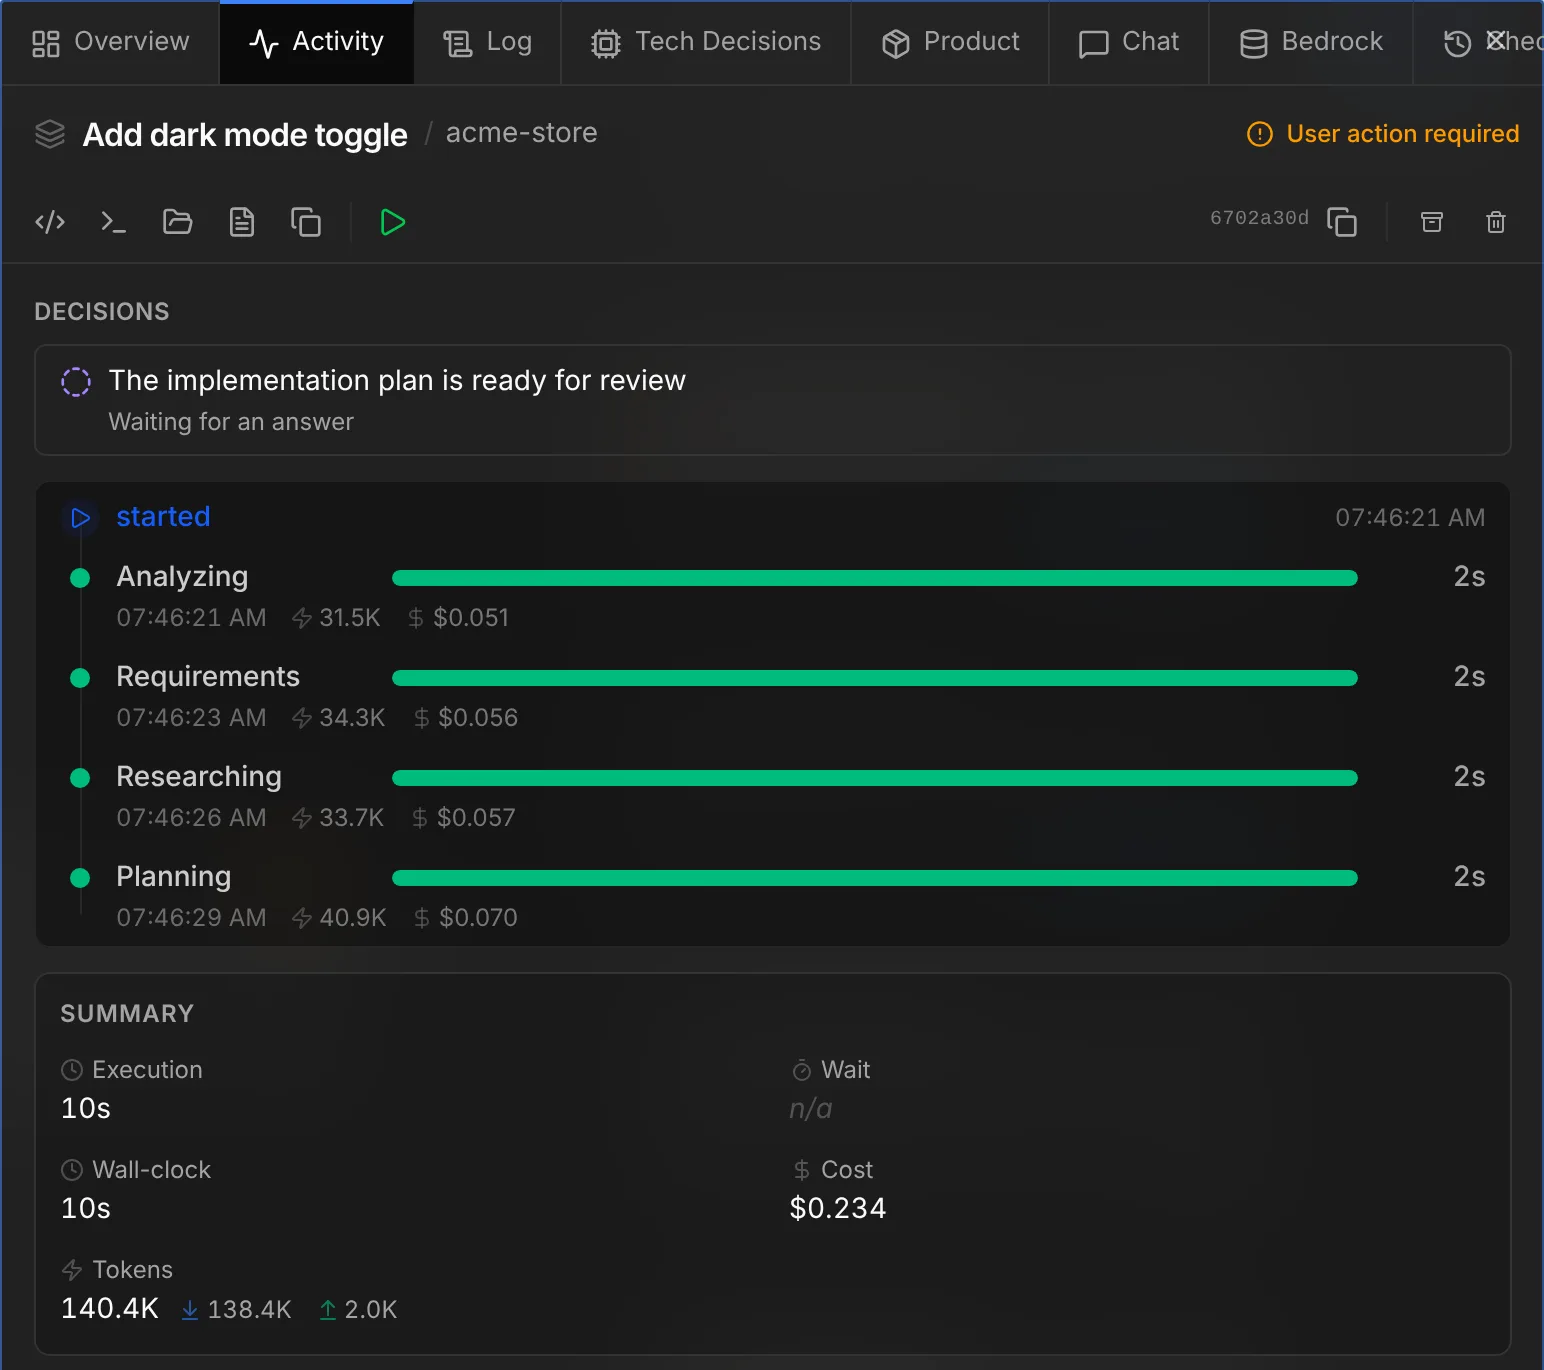
The run above is a spec-driven feature, so it has more phases. Your fast-mode feature goes straight to implementation. When the agent finishes, Shep commits, pushes the branch, opens a draft PR and watches CI. If a check fails, the agent reads the logs and pushes a fix, up to three attempts by default.
You should see shep feat wait return, and shep feat status <id> report:
Add Health Endpoint  blocked
  Why    Waiting for your approval
  Phase  merge
  Run    waiting_approval
  PR     https://github.com/you/my-app/pull/42
  ID     1a2b3c4d-5e6f-4a7b-8c9d-0e1f2a3b4c5d
  Next   shep feat approve 1a2b3c4d  |  shep feat reject 1a2b3c4d
blocked means the feature needs you; here it is the merge gate.
Review the pull request
Open the PR link and review it like any other: read the diff, check CI, leave comments. In the browser, the drawer’s Merge Review tab shows the same diff and the PR status.
Not happy? Send it back with a note and the agent works on it again:
shep feat reject <id> --reason "also report the git commit, read from the VERSION env var"After a reject, run shep feat wait <id> again and repeat this step.
Approve the merge
shep feat approve <id>Or approve it in the drawer’s Merge Review tab.
You should see the PR merged on GitHub (Shep squash-merges it) and the feature’s card on the canvas show Completed (its lifecycle is now Maintain). Pull main to get the change locally:
git pullWhat you did
- Shep created a branch and a worktree for the feature, so your checkout on
mainwas never touched. - Your agent did the coding; Shep committed, pushed, opened a draft PR and watched CI.
- The run stopped at the merge gate until you approved it. To let Shep merge on its own once CI is green, pass
--allow-mergenext time, or make it a default withshep settings workflow --allow-merge.
Troubleshooting
- The browser didn’t open. Copy the URL
shepprinted. Runshepagain at any time to print it. - A readiness check stays red. Run the command it shows, for example the agent’s login command, then reload the page. See Agents for each agent’s requirements.
Feature not found. Use the feature id or an id prefix, not the branch name or the feature name.shep feat lslists ids.- No PR was opened. Check that the repository has a GitHub remote (
git remote -v). Without a remote, Shep skips the push and the PR and merges locally when you approve. - The feature shows
failed. Read why withshep feat status <id>andshep feat logs <id>, thenshep feat resume <id>to try again. See Troubleshooting.
What’s next
- Run ten features without chaos: do the same thing ten times in parallel.
- Gates, decisions and checkpoints: steer a larger feature before code is written.
- Your first feature: every option of the flow you just ran.
- Web dashboard: the pages and panels of the web UI.