Start an App
When you have no code yet, start an app. Shep creates an empty project, registers it as an app, and starts the app’s first feature from your prompt. After that you add features to the app the same way you add them to any repository.
Two starters
| Blank (default) | Vite + shadcn | |
|---|---|---|
| Starter id | blank | vite-shadcn |
| Stack | Any. The first feature picks it during research | Vite, React, TypeScript, Tailwind and shadcn/ui (bun) |
| First feature | Spec-driven: requirements, research and a plan, each approved before code is written | Built straight from your prompt, with a live preview. No spec phase |
| Good for | Products and proofs of concept where the stack matters | Quick web-app prototypes |
Either way, the app lives in its own folder under ~/.shep/projects/<app> (or $SHEP_HOME/projects/<app>), and every later feature runs in a worktree of that folder.
From the CLI
shep app new "A booking tool for climbing gyms with waitlists and payments"Shep creates the project, registers the app, and starts its first feature in spec-driven mode. Your prompt goes to the agent unchanged, so Shep assumes nothing about the stack. When setup finishes, the command prints the app’s id, name, slug, path and status, and the next steps:
Next steps
  Follow the first feature: shep feat show <id>
  Add a feature: cd ~/.shep/projects/<app> && shep feat new "<what to add>"
Options
| Flag | What it does |
|---|---|
--starter <starter> | blank (default) or vite-shadcn |
--fast | Build the first feature straight from the prompt, without the spec phase |
--agent <type> | Agent for this app, for example claude-code, codex-cli, cursor, gemini-cli |
--model <id> | Model for this app (see Models & reasoning effort) |
shep app new "Landing page for a bakery" --starter vite-shadcn
shep app new "A CLI that renames photos by EXIF date" --fast
The first feature of a blank app stops at the usual approval gates. Approve or reject each one:
shep feat approve <id>
shep feat reject <id> --reason "Use Postgres, not SQLite"
Add features
Run shep feat new from the app’s folder. Each feature attaches to the app automatically:
cd ~/.shep/projects/<app>
shep feat new "Add waitlists"
shep feat new "Add Stripe payments" --no-fast
Everything in Your first feature applies: flags such as --push, --pr, --allow-prd, --allow-plan and --allow-all work the same way.
From the web UI
Open Apps
Click Apps in the sidebar, then New app. On a fresh install, Control Center also offers Start from a prompt.
Pick a mode
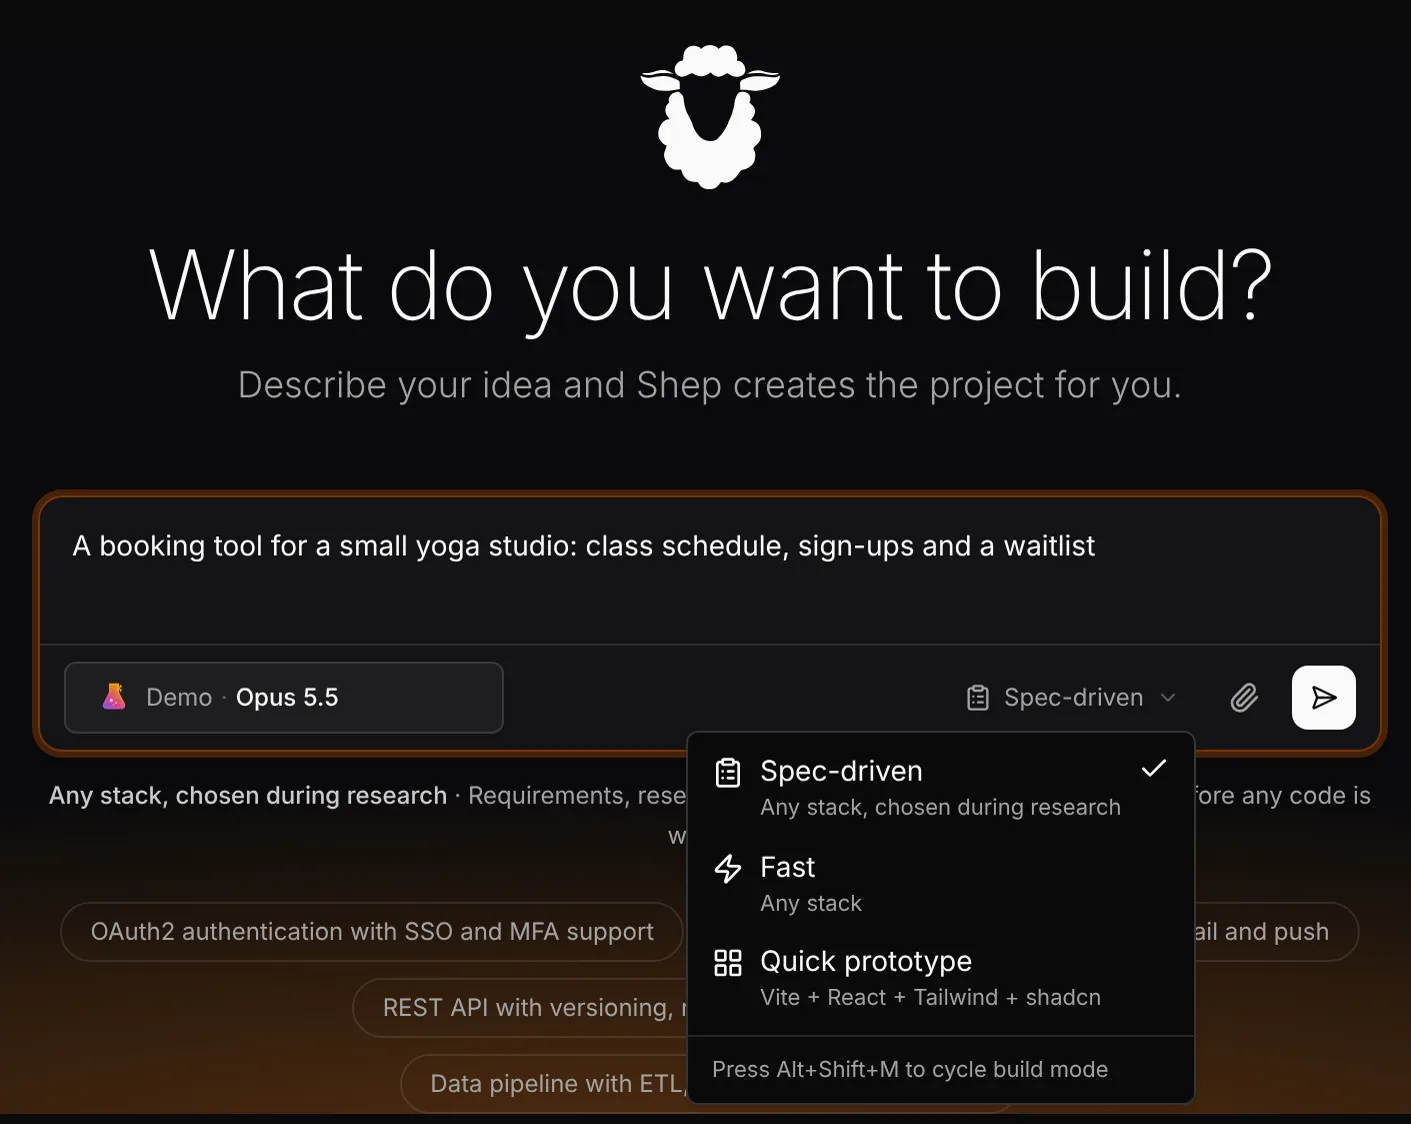
The prompt opens in Spec-driven mode, with the line “Any stack, chosen during research” under it. Switch to Fast to skip the spec phase, or to Quick prototype for the Vite + React + Tailwind + shadcn template.
Describe the product
Describe what it should do, not the technology. For example: “A booking tool for climbing gyms with waitlists, memberships and Stripe payments.”
Send and review
The app and its first feature appear on the Control Center canvas. Review and approve the requirements and the plan, including the stack decision, at each gate.
Keep building
Add more features with Add feature on the app’s page, or (+) → New Feature in Control Center.
The create card on the Apps page offers four ways in:
| Option | What it does |
|---|---|
| Plan it first | Any stack. Requirements, research and a plan before code |
| Quick prototype | Vite + React + shadcn template, live preview, no spec phase |
| Open local project | Continue from a folder you already have |
| Import from GitHub | Bring an existing repository |
Pointing at code you already have
A new app always starts empty. If your prompt mentions a folder that exists, for example “look at /home/me/code/shop and plan the next step”, the composer shows a hint. Choose Work on this folder instead to start a spec-driven feature on that folder; Shep registers it as a repository if needed. From the terminal, run shep feat new inside that folder.
Manage apps
shep app ls             # id, name, status, path, created
shep app show <id>      # details, including the agent and model the app uses
shep app del <id>       # asks to confirm; -f / --force skips the prompt
show and del accept an app id, its slug, or an id prefix.
shep app del stops any interactive session for the app and removes it from Shep. It does not delete the project folder under ~/.shep/projects/; remove that yourself if you no longer need the code.
Publish and deploy
An app’s page in the web UI has a deploy button that publishes the code to GitHub and deploys it to a host. The same actions exist on the command line:
shep app git create-remote <id>                          # create a GitHub repo for the app and push
shep app cloud-providers ls                              # list deployment providers
shep app cloud-providers connect CloudflarePages         # prompts for an API token (or pass --token)
shep app cloud-providers github-login                    # sign the GitHub CLI in, if needed
shep app deploy start <id>                               # deploy and stream progress
shep app deploy status <id> --json                       # current deployment state
Cloudflare Pages is the only deployment provider today. create-remote needs an authenticated gh; if it isn’t signed in, run shep app cloud-providers github-login first.
What’s next
- Start an app, then add features — a hands-on tutorial.
- Your first feature — the full feature lifecycle.
- Spec-driven mode — what the blank starter’s first feature goes through.
- Dev servers — run your app locally from Shep.
- Models & reasoning effort — choose what the app’s agent runs on.